Calendar Views
Calendar Views are a way to create and manage multiple Scheduling pages, each customized for different situations and/or different availability.
Create a Calendar View
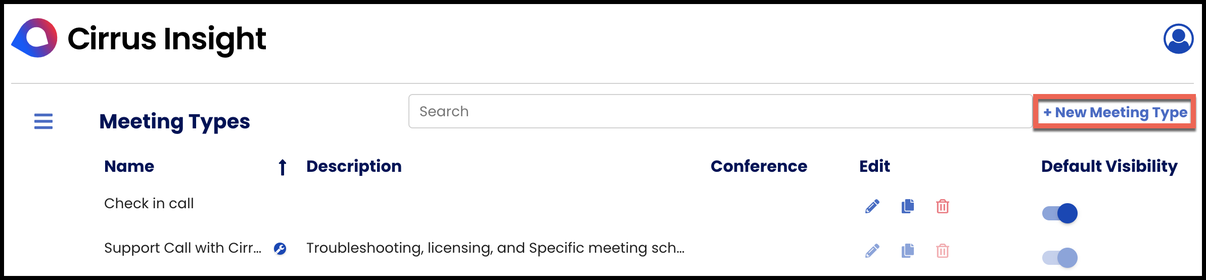
- Go to your Calendar Views in your dashboard.
- Click New Calendar View in the top right.

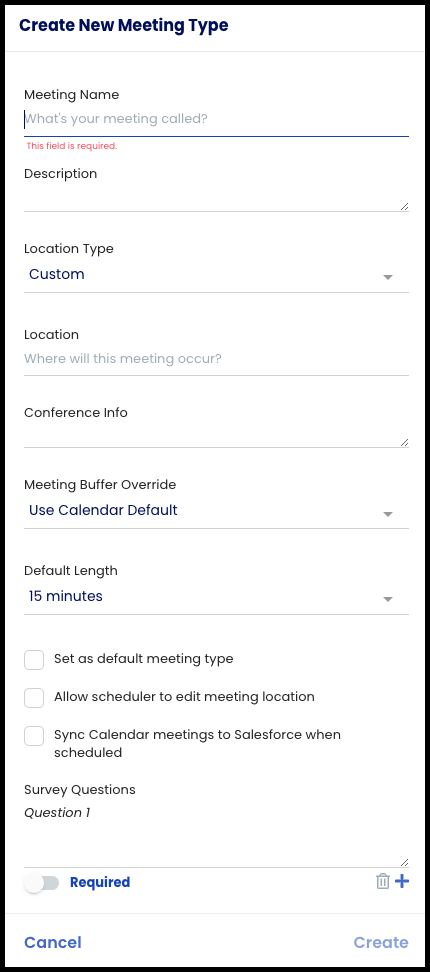
- From the Create New Calendar window, enter details like calendar name and URL, tag line, and meeting link text:
- You can also add a photo that will appear on your booking page:
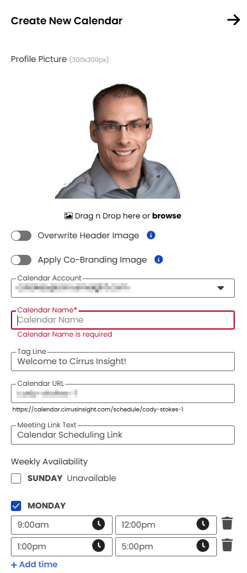
- You can add more availability slots by clicking +Add time.
- Set your availability with days, hours, time zone, and meeting lengths.
- Once you've set up the calendar view to your liking, click the Create button at the bottom right.
Set your Meeting Type
In the previous page you created a Meeting Type. Now you have to associate it with your new or existing Calendar View.
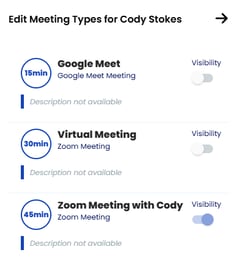
- In the Calendar Views page, click the calendar icon under the Edit section, this will open the Meeting Types blade where you can configure which Meeting Types you want available to people visiting this particular booking page:

- Ensure that the visibility toggle is set correctly. In this example only the Zoom Meeting Type is enabled while the other are disabled:
- Once you've configured the Meeting Type visibility, you can close this blade and your preferences will be saved.
Manage a Calendar View
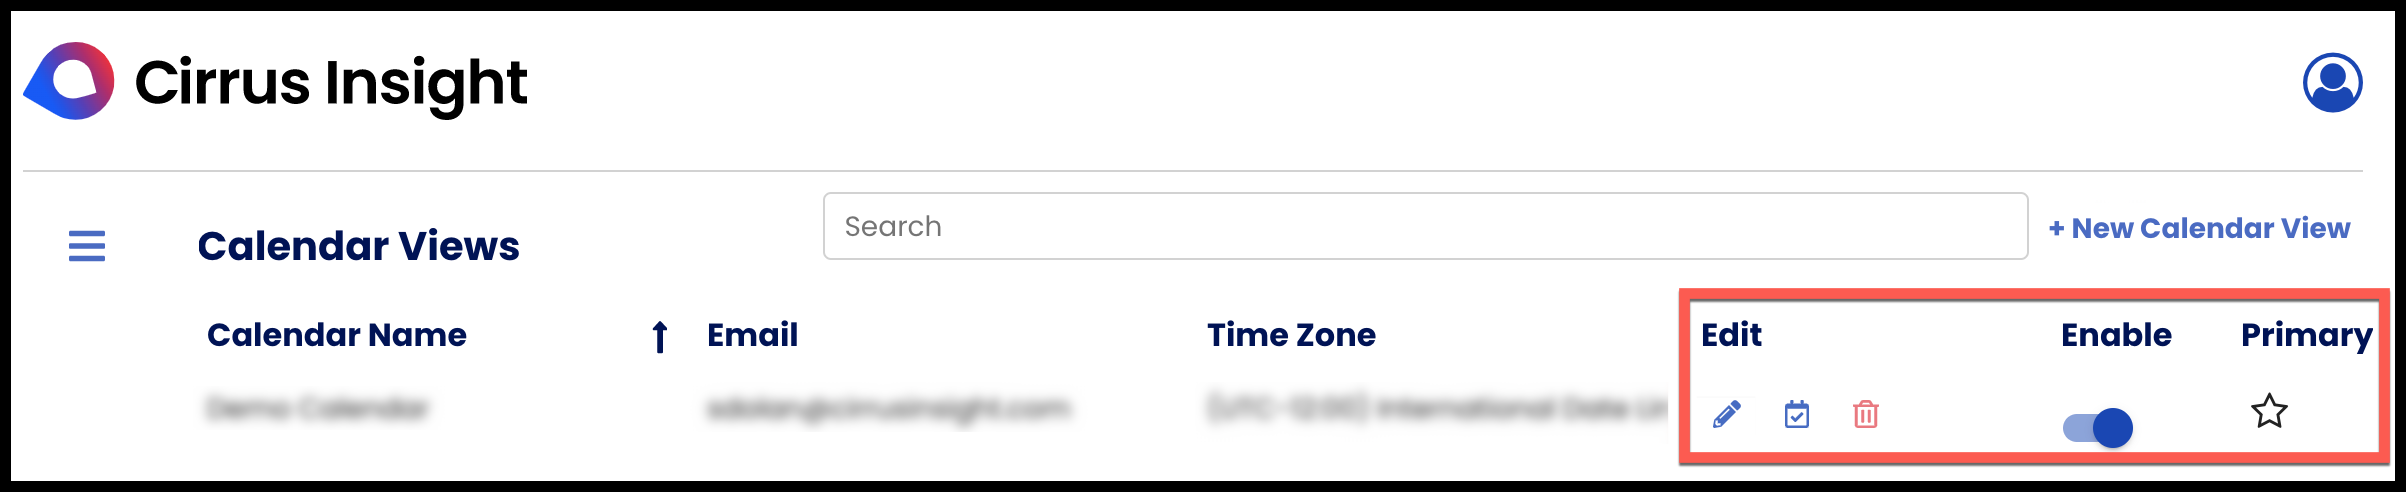
For existing Calendar Views, you can Edit, specify Meeting Types, or Delete.
You can also Enable/Disable a Calendar View or set one as the Primary.

Share your booking page
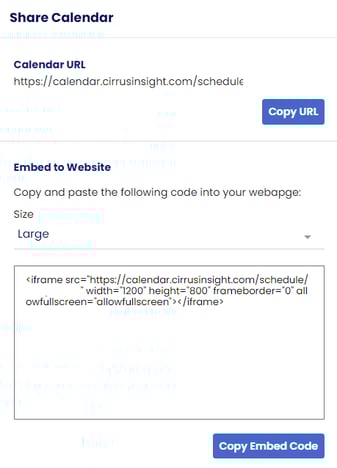
While in the Calendar Views page click on the icon under Share Calendar:
A blade will pop out with options to copy your booking URL and embed code for you to publish the booking page on a website. The Copy URL option is used most commonly for linking people to your booking page. Feel free to add it to your email signature and anywhere else you want it!
Note: If you installed our Sidebar, you can also access these controls right from your email.
You can download our Sidebar here:
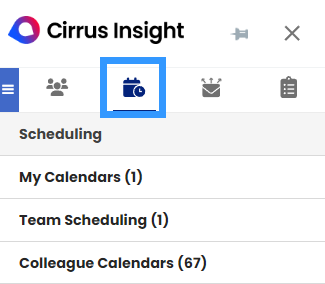
Make sure to sign in after you've installed it and go to the Scheduling tab:
Customize Calendar Availability