Introducing One Click Booking | Cirrus Insight
Overview
How Does It Work?
Thanks to the magic of our sidebar and One Click Booking your clients and prospects no longer have to enter their details to book a meeting with you. Let's take a look at how it works.
The Book Meeting feature of the sidebar now gives you the ability to pre-fill the attendee's information and include additional invitees. When the attendee clicks on any of the booking times you sent, the meeting will be immediately booked on that calendar, hence the name "One Click Booking." The attendee will be taken straight to a booking confirmation page with reschedule and cancel buttons so they can adjust their selection if they happen to click on the wrong time.
There are exceptions to consider:
- Required Fields: If you have required fields on your booking page, we will take the attendee to your booking page and pre-fill their details that were added in the One Click Booking fields, reducing data entry and booking friction. Once they answer the required fields, they will be able to book the meeting.
- The specific time they selected is not available: On occasion a booking time that you provided may get booked by someone else after you've sent the times. When this happens we will take the attendee to a screen showing the other available times you provided. This page also includes a link to your full booking calendar. When the attendee clicks on another booking time on this page or selects a time from your full booking calendar, we will immediately book the meeting without requiring them to enter any information, assuming there are no required fields on your booking page.
How Do I Use It?
Email Sidebar:
There are several ways to access One Click Booking from the sidebar so you can use the feature from almost any workflow.
Scheduling Tab:
- Start by selecting an email that contains the person you plan to send availability to. This email can existing anywhere in your inbox, sent, trash, spam and any folder you've created.
- Click the Scheduling Tab of your sidebar and find the calendar you wish to use. We support My Calendars, Team Scheduling, Colleague Calendars, and Favorite Calendars:

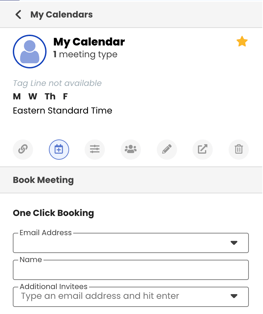
- Click the Book Meeting icon in the calendar card you selected:

- The One Click Booking fields will be pre-populated with the people we found on the email you have selected. The contact order is based on the first email address we find starting with the To field and progressing to the CC and From fields.
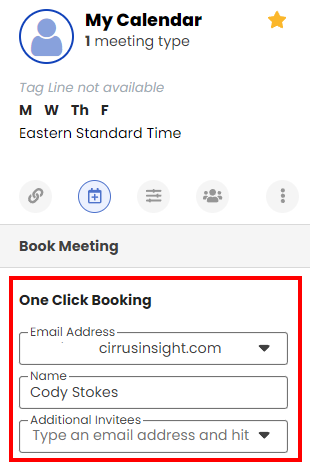
- Clicking on the Email Address field will show more people on the email. If we show both a name and email address, we will automatically populate these details in the respective fields when selected.
If we don't detect a name, we will still populate the email address and you will be required to enter their name.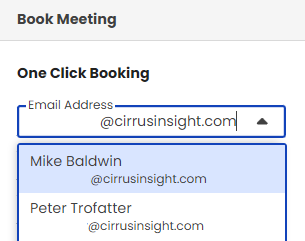
Please note: We do not show people if they are part of a blocked domain. This is an org level setting controlled by your Cirrus Insight admin. - Once you've selected the person you wish send booking times to, click Copy Times or Insert Times if you're currently composing an email. These buttons are at the bottom of the sidebar.
- If you clicked Copy Times, start composing an email and paste what you copied into the email body.
- Send the email to your intended recipient. When they click on a time you sent, they should be instantly booked on the calendar you generated the booking times from.
Contact and Lead cards (Salesforce connection required):
You can access this feature from any place you can see a contact or lead including the People Tab, Work Tab and Search.
- While an email is selected the Contacts section of the People Tab displays all contacts and leads on the email. You can click the Scheduling link on any of these cards to be taken to the Book Meeting screen. Keep in mind this icon might be in the 3 dots to the far right.

- On the next screen click the Book Meeting icon. If you don't see this icon, check under the 3 dots on the far right:
- You will taken to the Book Meeting screen which contains the One Click Booking fields. Here we've pre-populated the name and email address from the contact or lead card you started from:
- Once you've selected the person you wish send booking times to, click Copy Times or Insert Times if you're currently composing an email. These buttons are at the bottom of the sidebar.
- If you clicked Copy Times, start composing an email and paste what you copied into the email body.
- Send the email to your intended recipient. When they click on a time you sent, they should be instantly booked on the calendar you generated the booking times from.
Here's a video walkthrough of the feature in action:
Your Dashboard:
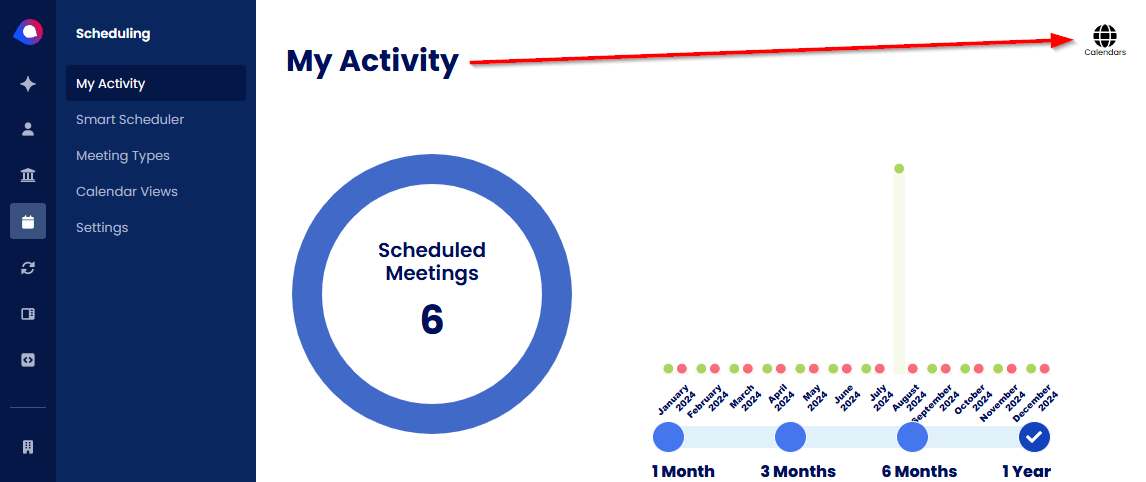
Your Dashboard has a Calendar Scheduling page that shows you analytics about your meetings and includes a handy Calendars icon at the top right, which contains the same UI of the sidebar's Scheduling Tab. Clicking this will open a blade displaying your personal calendar, Team Scheduling Colleague Calendars and Favorite Calendars.
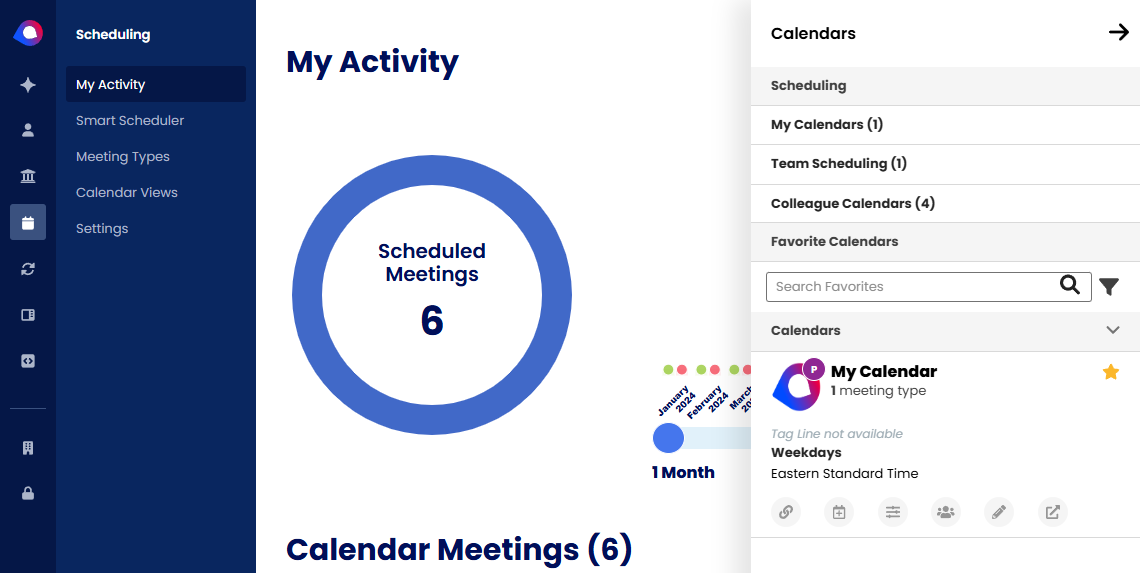
- Start by click on one of the categories and click on the Book Meeting icon:
- On the Book Meeting screen you'll see the One Click Booking fields are blank. This is because there is no way to auto-populate the information from an email like we can from the email sidebar:
Here's a video walkthrough of the feature in action:
Manually Entering Contacts
- To manually add a contact, type or paste the email address first and hit Enter on your keyboard.
- If there's already an email address in the field, clear the field and hit enter.
- Then enter their name.
- Once you've entered the details person you wish send booking times to, click Copy Times at the bottom of the sidebar.
- Start composing an email and paste what you copied into the email body.
- Send the email to your intended recipient. When they click on a time you sent, they should be instantly booked on the calendar you generated the booking times from.
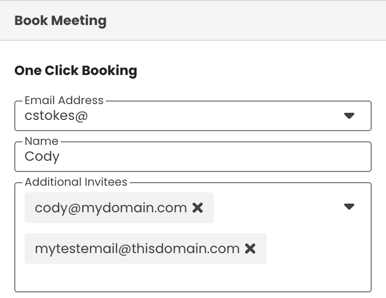
Additional Invitees
- You can include additional invitees by typing their email address in the Additional Invitees field and hitting Enter on your keyboard after each email address.
Relevant Articles